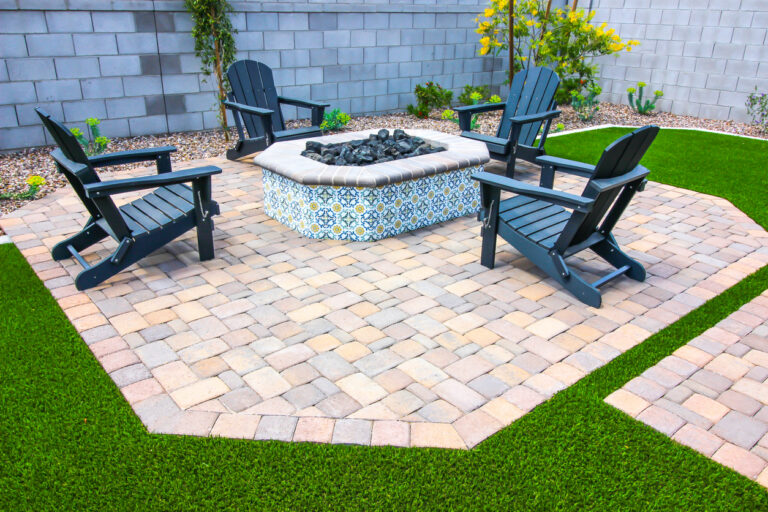
Pavers can completely transform a yard. Whether it’s a patio for entertaining, a pathway leading through a garden, or a new driveway, the look and function of interlocking concrete or stone pavers are hard to beat.
But here’s the reality: a paver system is only as good as the preparation and installation behind it. When shortcuts are taken, the surface may look fine for a few months, but it won’t take long before sinking, weeds, or water problems appear.
For San Jose homeowners, where soil conditions and climate play a big role in outdoor construction, these mistakes are even more costly.
Below, we break down the five most common errors people make when installing pavers—and explain how working with Westack Landscaping prevents them from happening in the first place.
Why Paver Installations Fail Without the Right Process
San Jose sits on soils that range from clay-heavy in some neighborhoods to sandy loam in others. Combine that with a climate that swings from hot, dry summers to occasional heavy rains, and you’ve got conditions that demand precise preparation.
Most paver problems come down to the same root issue: improper installation steps. The Interlocking Concrete Pavement Institute (ICPI) has published standards for decades that explain why excavation depth, grading, compaction, and joint finishing matter. When DIYers or low-cost crews skip these details, it shows quickly.
Mistake #1 – Skipping Proper Excavation
The first and most damaging mistake is shallow excavation. Many DIY tutorials suggest digging down just a few inches, but that’s nowhere near enough.
A proper installation requires removing enough soil to account for:
- The base layer (typically 4–6 inches for patios and walkways, up to 12 inches for driveways).
- A 1-inch bedding layer of sand.
- The thickness of the paver itself.
Without adequate depth, the base cannot be compacted correctly, and the pavers will shift under foot traffic or vehicles.
Mistake #2 – Ignoring Drainage and Grading
Water is the hidden enemy of most outdoor projects. In San Jose, sudden winter rains can turn an ungraded patio into a flooded mess. The ground must be sloped slightly so water flows away from structures.
The industry standard is about 2% slope—that’s a quarter-inch drop for every foot of run. It may sound small, but that subtle grade makes all the difference between water moving away or pooling under your pavers.
Amateur installers often place pavers flat because it looks level, but this invites pooling, erosion, and even foundation damage if water runs toward the house.
Westack’s crews use laser levels and slope measurements on every job, making sure drainage is built into the design from day one.
Mistake #3 – Using the Wrong Base Materials

Another common mistake is laying pavers directly over soil or using a thin layer of gravel. These shortcuts can’t provide stability, especially in clay or sandy soils.
A proper base requires:
- Well-graded crushed stone aggregate, compacted in layers.
- Geotextile fabric when used to separate soil from base material and prevent mixing.
- Correct depth, which varies depending on whether the surface is for foot traffic or vehicles.
Without these measures, pavers will settle unevenly, creating trip hazards and eyesores.
Westack sources premium base aggregates suited to San Jose’s soils, ensuring each installation can handle both seasonal changes and heavy use.
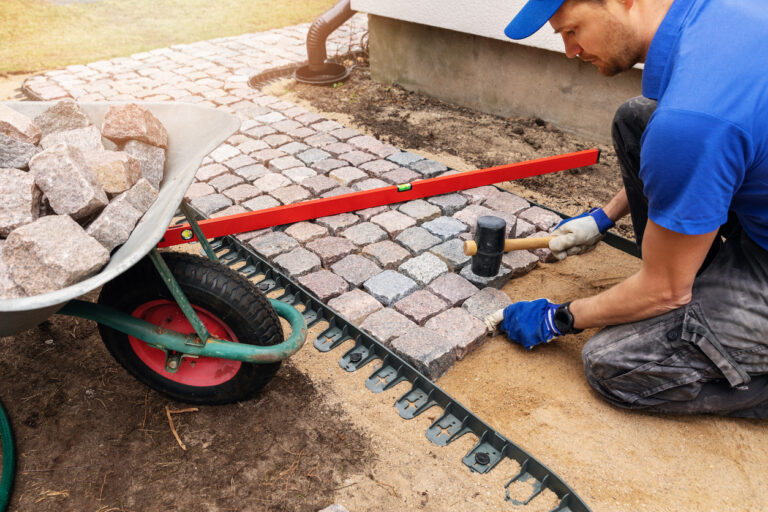
Mistake #4 – Poor Compaction and Edge Restraints
Even if the right materials are used, poor compaction can ruin the project. Each layer of base stone must be compacted in lifts with a plate compactor—not just tamped down once at the end. This step locks particles together to create a load-bearing foundation.
Edge restraints are equally important. They keep pavers from spreading outward under pressure. Skipping them is one of the fastest ways for a patio or walkway to lose its shape.
DIY jobs often miss both these steps, leading to wavy surfaces and shifting edges.
Westack’s crews compact in layers and install secure edge restraints, building projects that maintain their structure for decades.
Mistake #5 – Skipping Professional Finishing and Sealing
The final stage of installation often looks like the easiest, but it’s where professionals stand out. Once pavers are in place, polymeric joint sand should be swept into the joints and activated with water. This locks the pavers together, reduces weed growth, and prevents ants from tunneling through.
Many amateur jobs skip this step, leaving wide joints that collect weeds or wash out in the rain. Others neglect optional but valuable finishing, like sealing, which adds stain resistance and extends the lifespan of the surface.
At Westack, every San Jose paver project is finished with precision, ensuring joints are locked tight and the surface is protected from the start.
Why Work with Westack Landscaping in San Jose
The five mistakes above are exactly why DIY jobs and low-cost crews often fail. Paver systems aren’t just about arranging stones in a pattern—they’re engineered surfaces that require excavation, drainage, compaction, and finishing to industry standards.
By working with Westack Landscaping, San Jose homeowners get:
- Local expertise: Knowledge of Bay Area soils and climate.
- Professional tools: Laser levels, plate compactors, skid steers.
- Industry standards: Installations aligned with ICPI best practices.
- Long-term results: Pavers that stay level, drain correctly, and last decades.
In other words, you’re not just paying for materials. You’re investing in a process that transforms your backyard into a functional, lasting extension of your home.
Ready to Build Your San Jose Paver Project?
A paver patio or driveway should be a one-time investment—not a repeating cycle of repairs. Avoiding the five mistakes above is the difference between a yard that fails in a few years and one that adds value to your property for decades.
If you’re considering paver installation in San Jose, contact Westack Landscaping today. Our team will guide you through the process and deliver a result that looks great, performs even better, and stands the test of time.